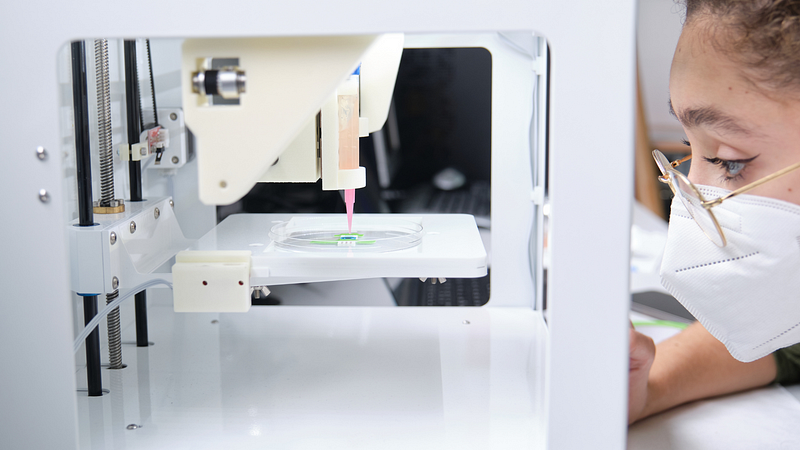
Optimizing Print Settings: A Guide to Achieving High-Quality 3D Prints

Achieving high-quality 3D prints is a delicate dance between technology, material, and settings. It requires a keen understanding of your printer’s capabilities and the intricacies of the chosen material. In this guide, we’ll delve into the crucial aspects of optimizing print settings to ensure your 3D prints come out flawlessly.
1. Layer Height and Resolution
Layer height is a fundamental parameter that significantly impacts the final print quality. A smaller layer height produces finer details but increases print time. Striking a balance between detail and speed is key. For intricate models, opt for a finer resolution, while larger, less detailed prints can benefit from a thicker layer height.
2. Print Speed and Temperature
The relationship between print speed and temperature is crucial. Faster speeds can lead to issues like stringing and ringing, while slower speeds may result in better accuracy. Likewise, temperature affects material flow and adhesion. Experiment with different settings to find the sweet spot for your specific printer and material combination.
3. Infill Density
Infill refers to the internal structure of a 3D print. A higher infill density imparts greater strength to the print, but also consumes more material and time. For non-structural prints, a lower infill percentage can save material and reduce print time without sacrificing surface quality.
4. Supports and Rafts
Intricate, overhanging features often require supports or rafts to maintain structural integrity during printing. However, excessive use of supports can leave unwanted marks on the final print. Consider enabling supports only where absolutely necessary, and experiment with different support densities and patterns.
5. Retraction Settings
Retraction settings control the withdrawal of filament during non-printing moves, which helps prevent issues like stringing and oozing. Finding the right retraction distance and speed can greatly improve the overall print quality, particularly in models with complex geometries.
6. Cooling and Fan Speed
Cooling is essential for maintaining proper layer adhesion and reducing warping. Adjusting fan speed and positioning can greatly affect print quality. Experiment with different cooling settings to find the optimal configuration for your specific material and printer.
7. Calibration and Bed Leveling
Proper calibration and bed leveling are the foundation of successful 3D printing. Ensure your printer’s bed is leveled accurately to prevent issues like uneven first layers, which can lead to adhesion problems and warping. Regular calibration checks will help maintain consistent print quality.
Post-processing steps can significantly enhance the final appearance and strength of your prints. Techniques like sanding, painting, and acetone smoothing can smooth out imperfections and create a polished finish.
Conclusion
Achieving high-quality 3D prints requires a combination of knowledge, experimentation, and attention to detail. By understanding and optimizing key print settings, you can unlock the full potential of your 3D printer. Remember, every printer and material combination is unique, so don’t be afraid to iterate and fine-tune your settings. With dedication and a bit of trial and error, you’ll be producing stunning 3D prints in no time. Happy printing! And if you’re looking for 3D printing services in India, consider exploring the options available for 3D printing to take your projects to the next level.
Comments
Post a Comment